Learning the basic operating procedures for the electronics system is a critical first step in becoming familiar with the electronics system. We’ve designed the system to be as straightforward as possible for non-electronics subteam people to operate, but there are still a few nuances that need to be observed to ensure the car works as intended.
Turning on the Electronics
The standard operating procedure to run the car is straightforward.
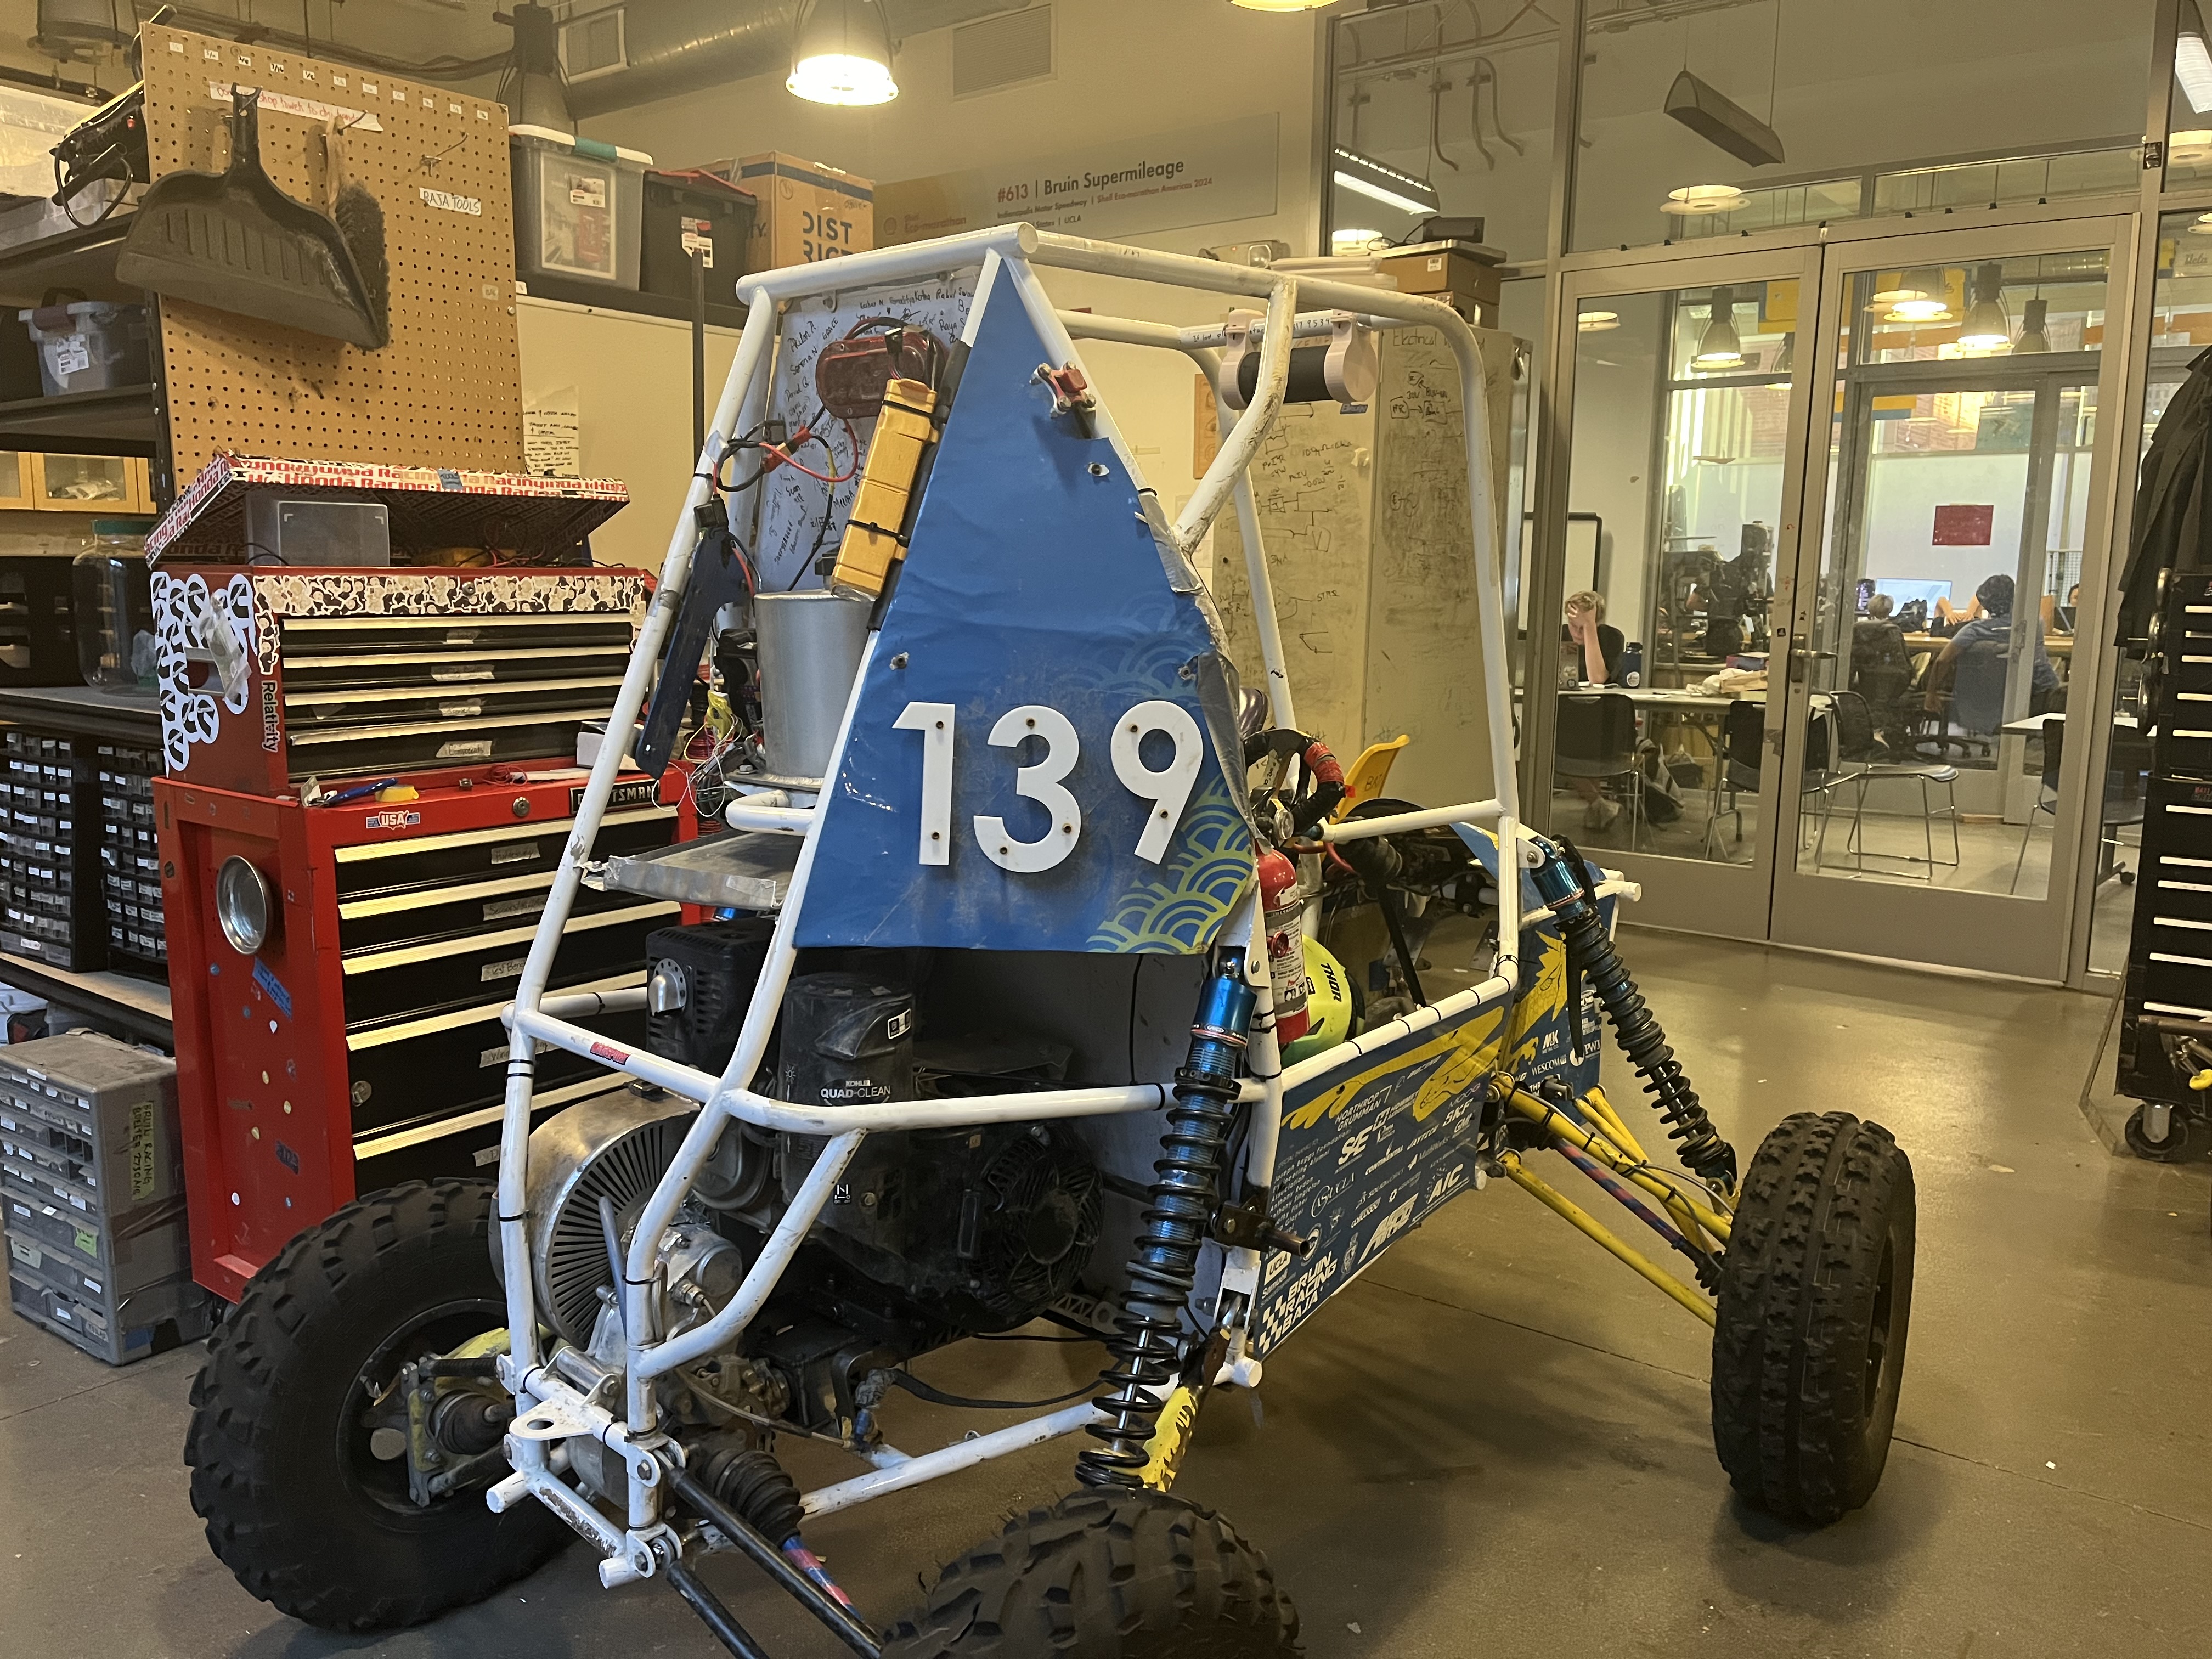
IMPORTANT
DO NOT run the car in the shop, courtyard, or hallway. The shop for obvious reasons, but we are prohibited from starting the car in the courtyard because it’s the clean air intake for the entirety of Boelter. Exhaust fumes are the opposite of clean air.
Start the car outside on the street.
System Checks
Before trying to start anything, we go through a few standard systems checks to rule out any silly issues that could arise.
Checking the Odrive Battery Wire
The Odrive battery is the largest battery on the system, which supplies the power for our actuator to shift. This battery is rated for 48-52V, depending on the battery used. Any voltage above 45V is sufficient to run the car. Be wary of the voltage sagging from nominal rated voltage, which indicates low capacity.

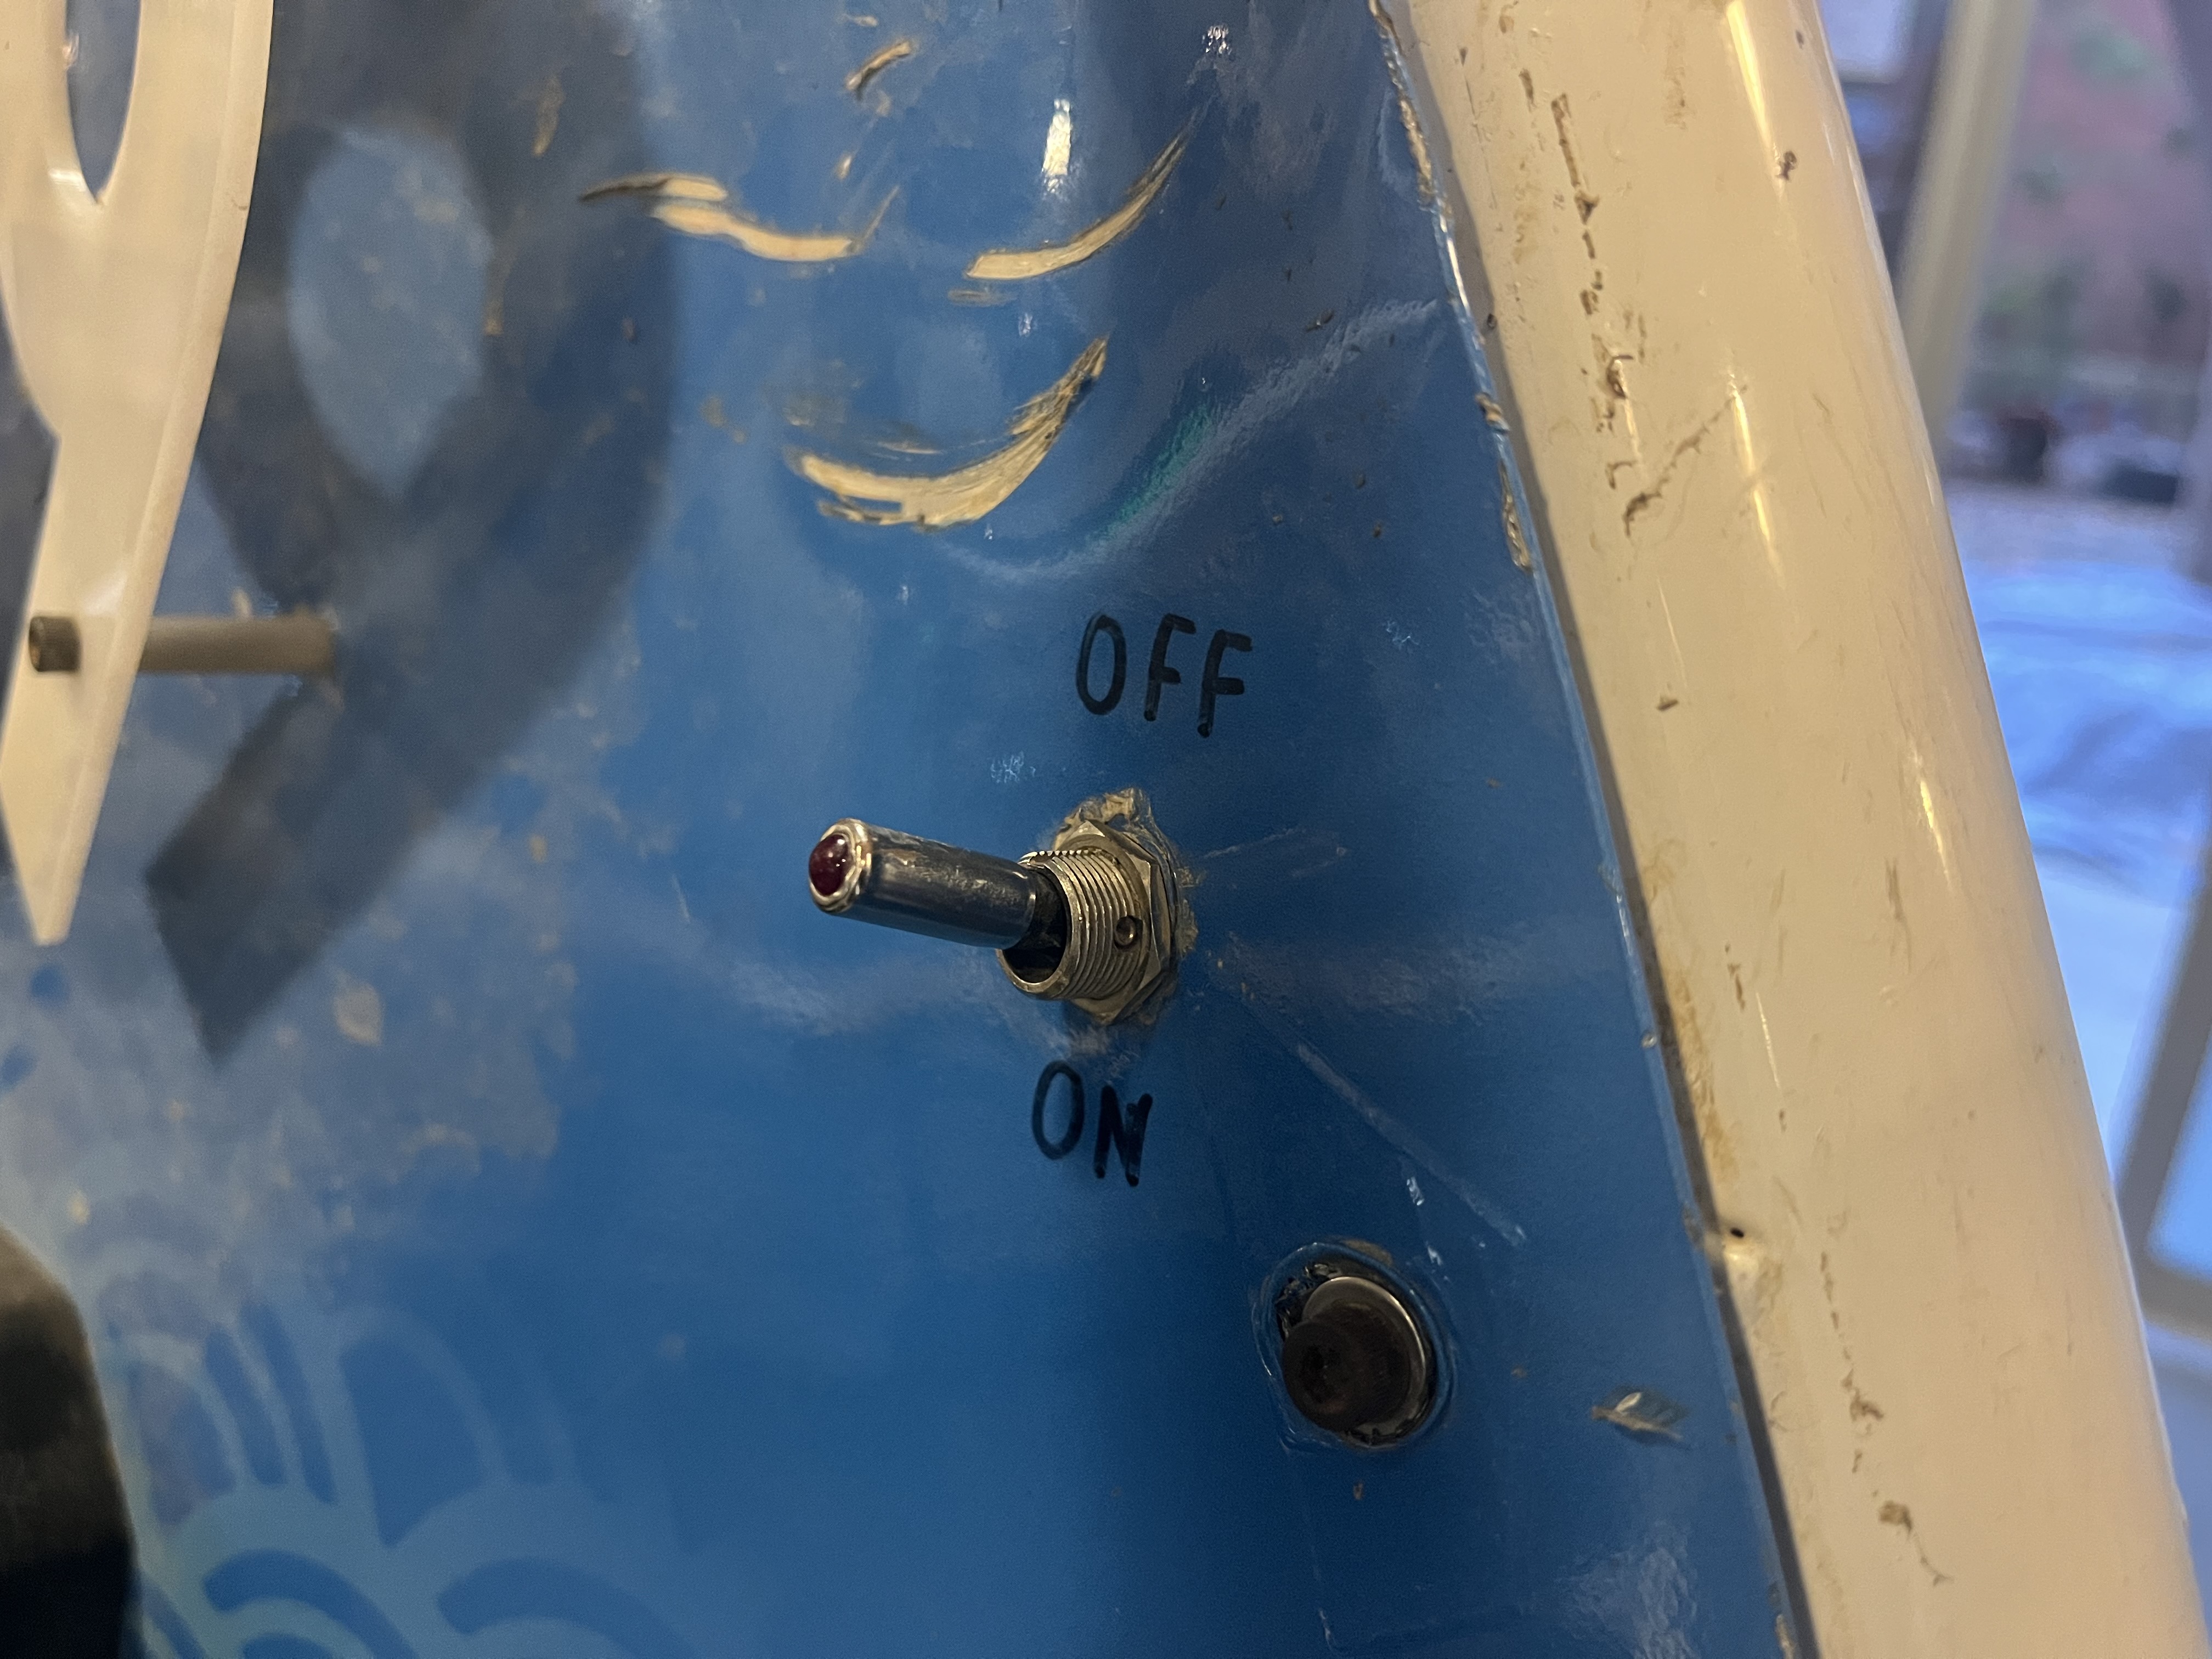
Be sure that the battery switch for the Odrive battery is off. This will keep you a little safer while probing (obviously depending on where you probe, please exercise good judgement).
Checking the USB Battery Bank
The USB battery bank powers the main board of the PCB with 5V. Be sure to use a known-good battery bank, and ensure that the battery bank won’t turn off mid-operation (some battery banks like to turn off if they don’t pull enough current).
NOTE
You may be wondering why we run two batteries! A year or two ago, we had a lot of issues with ground loops, and that was the solution.
Checking if a Teensy is Installed
The Teensy is the brains of the transmission and is REQUIRED to run the car. The Teensy is a green, rectangular microcontroller and is in the middle of the main PCB. Ensure that the Teensy has no visible damage and is plugged all the way into its socket. If the pins on the Teensy are covered in dust, you may have to blow on them to make a good electrical contact (just like a Gameboy!).
Checking the SD Card
The Teensy also depends on it’s built in SD card slot to collect data. We are actively aware of an issue where occasionally the car doesn’t run if an SD isn’t inserted, so please be sure to insert an SD card into the Teensy.
The Teensy uses a micro-SD card and this is inserted at the bottom of the Teensy (should be apparent where the SD card goes).
Checking for Hanging Wires and Short Risks
A single short can kill the car. We are aware of this issue and should be fixed for the next iteration. That being said, please be sure that there is no risk of wires getting cut, or being shorted together during normal operation of the car. Pay particular attention to ground and Vcc wires.
2 years prior, a broken gear tooth sensor caused a short in the electronics, permanently damaging about 400 dollars worth of components. ouch…
Check Fuses
A very common issue is not having a fuse plugged into the main battery’s wire when running the car. If this happens, the Main PCB will turn on, but the motor controller will not be able to drive the motor.
Fuses are taken out for transportation, or if current electrical work is happening on the car (for safety). Please consult a director or electronics lead for permission to reinsert a fuse into the car.
Starting the Main Board
In order to start the main board, you should ensure that the power switch for the main battery is set to the off position.
 Main Battery Switch in the off Position.
Then, plug in the USB B socket at the top of the main board to the USB battery bank, connecting the board to 5V power.
DANGER
Do not plug in a computer to the Teensy through the micro USB port when the battery bank is plugged in. Your USB port or the bank will be damaged.
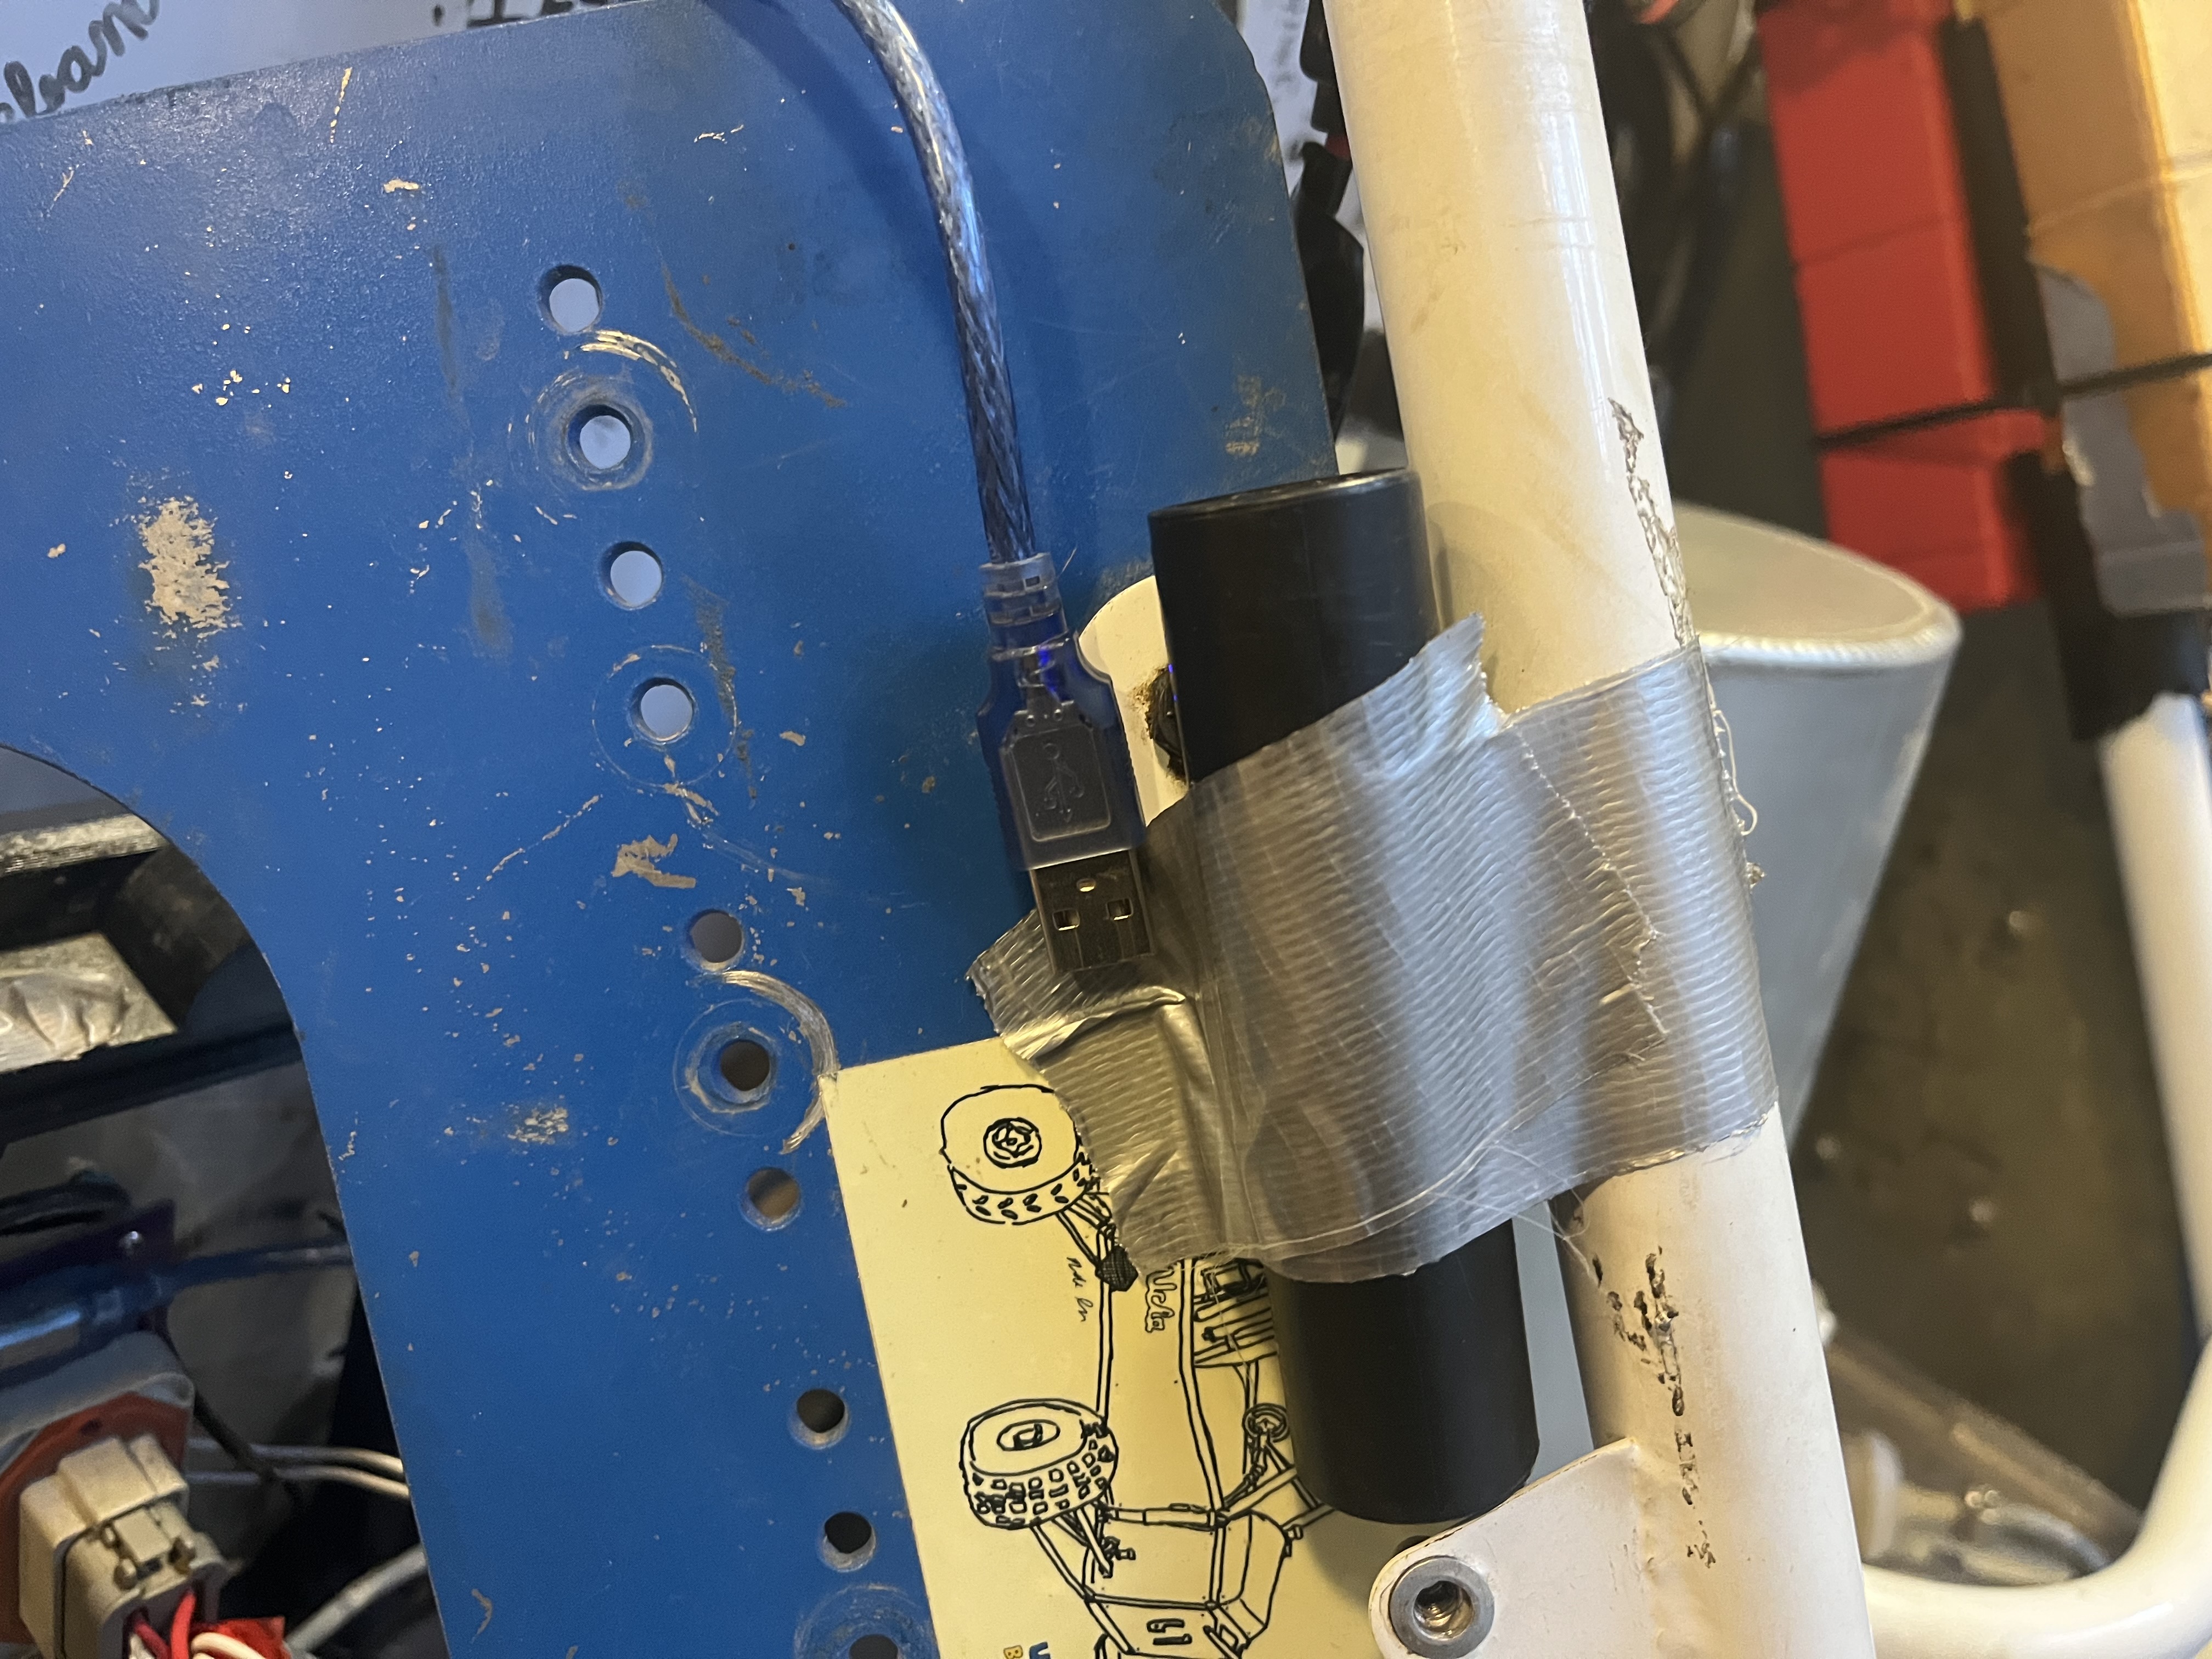 Picture of the USB battery bank
Wait for the red LEDs on the board to start flashing, this means that the main board is initialized and waiting for a connection from the Odrive.
 LEDs on the main board flashing.
Starting the Odrive
Before starting the Odrive, please make sure that the main board has been turned on.
First, flip the main battery switch to the on position. The RGB LED on the Odrive will turn on and begin changing colors. This is the O-Drive initializing. If the Odrive turns red, grab a director or an electronics member before proceeding further.
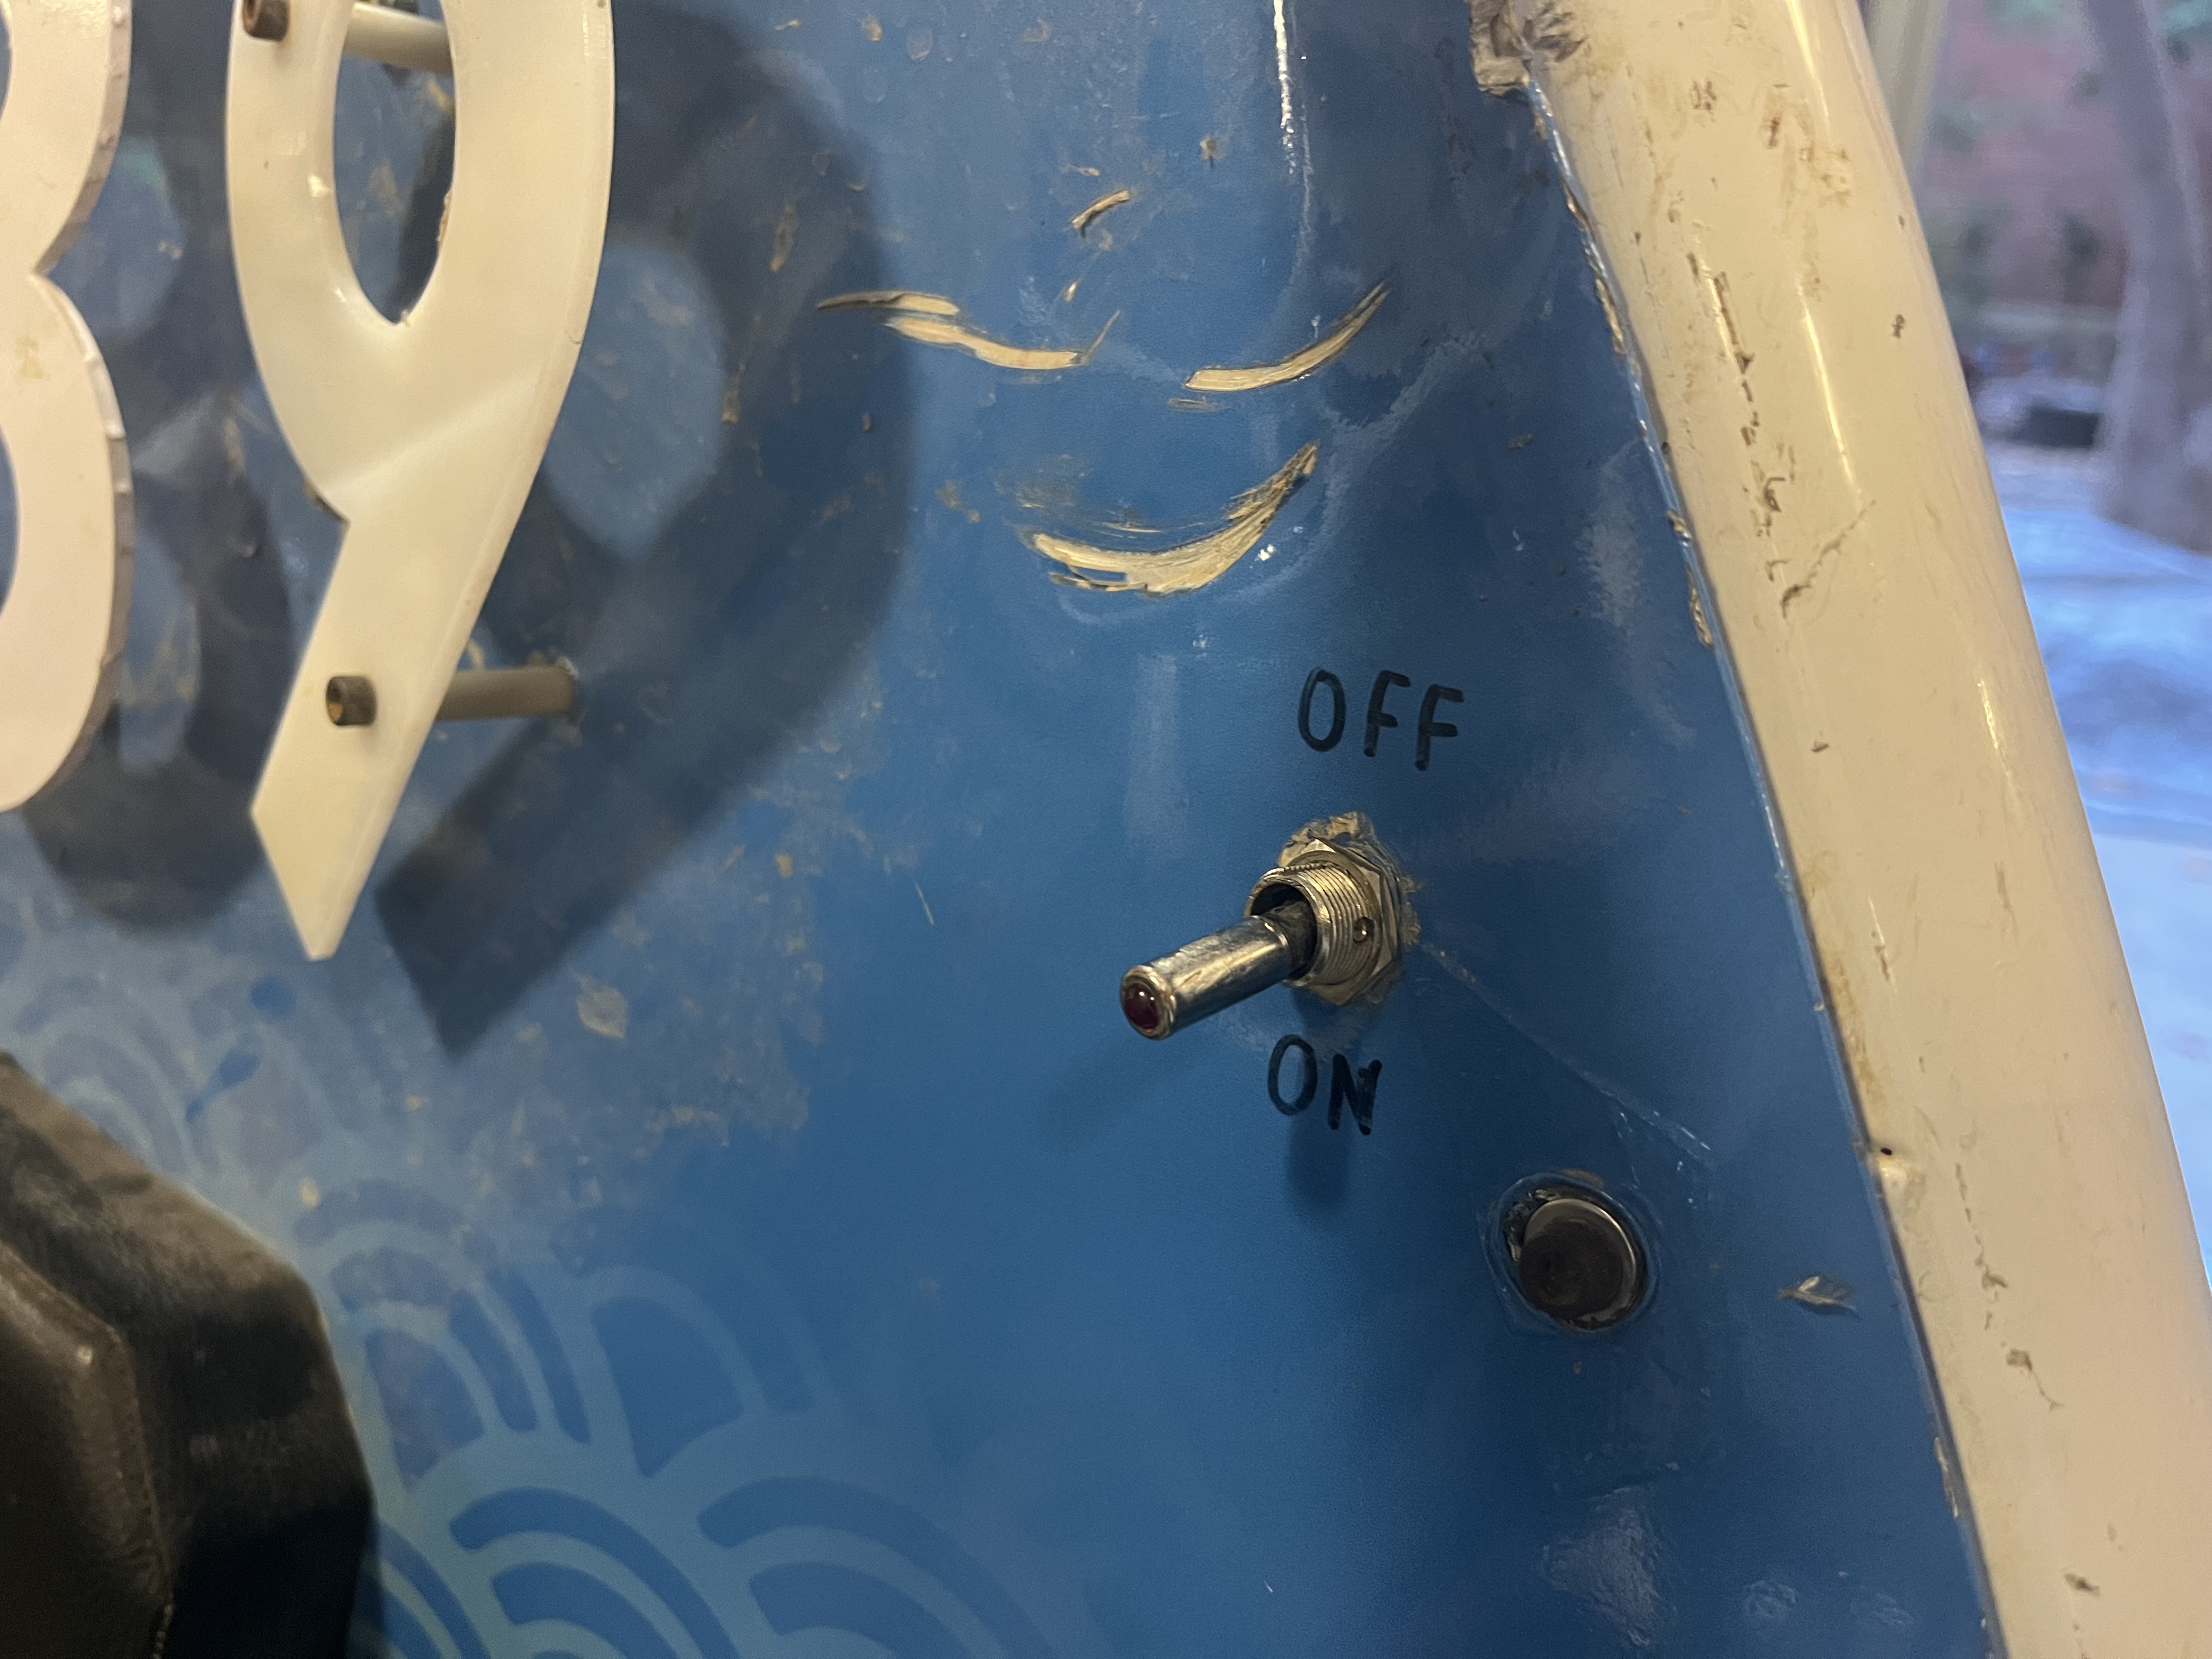 Flip the main battery switch to the ON position.
After a short delay, the red LEDs on the main board will stop flashing and the actuator will begin its homing sequence. The Odrive’s RGB LED will also turn green, indicating that it’s actively receiving commands from the main PCB and has thrown no errors.
 Green LED turned on in the Odrive.
After this, the main board will have only the bottom left LED turned on (indicating that the outboard limit switch is pressed).
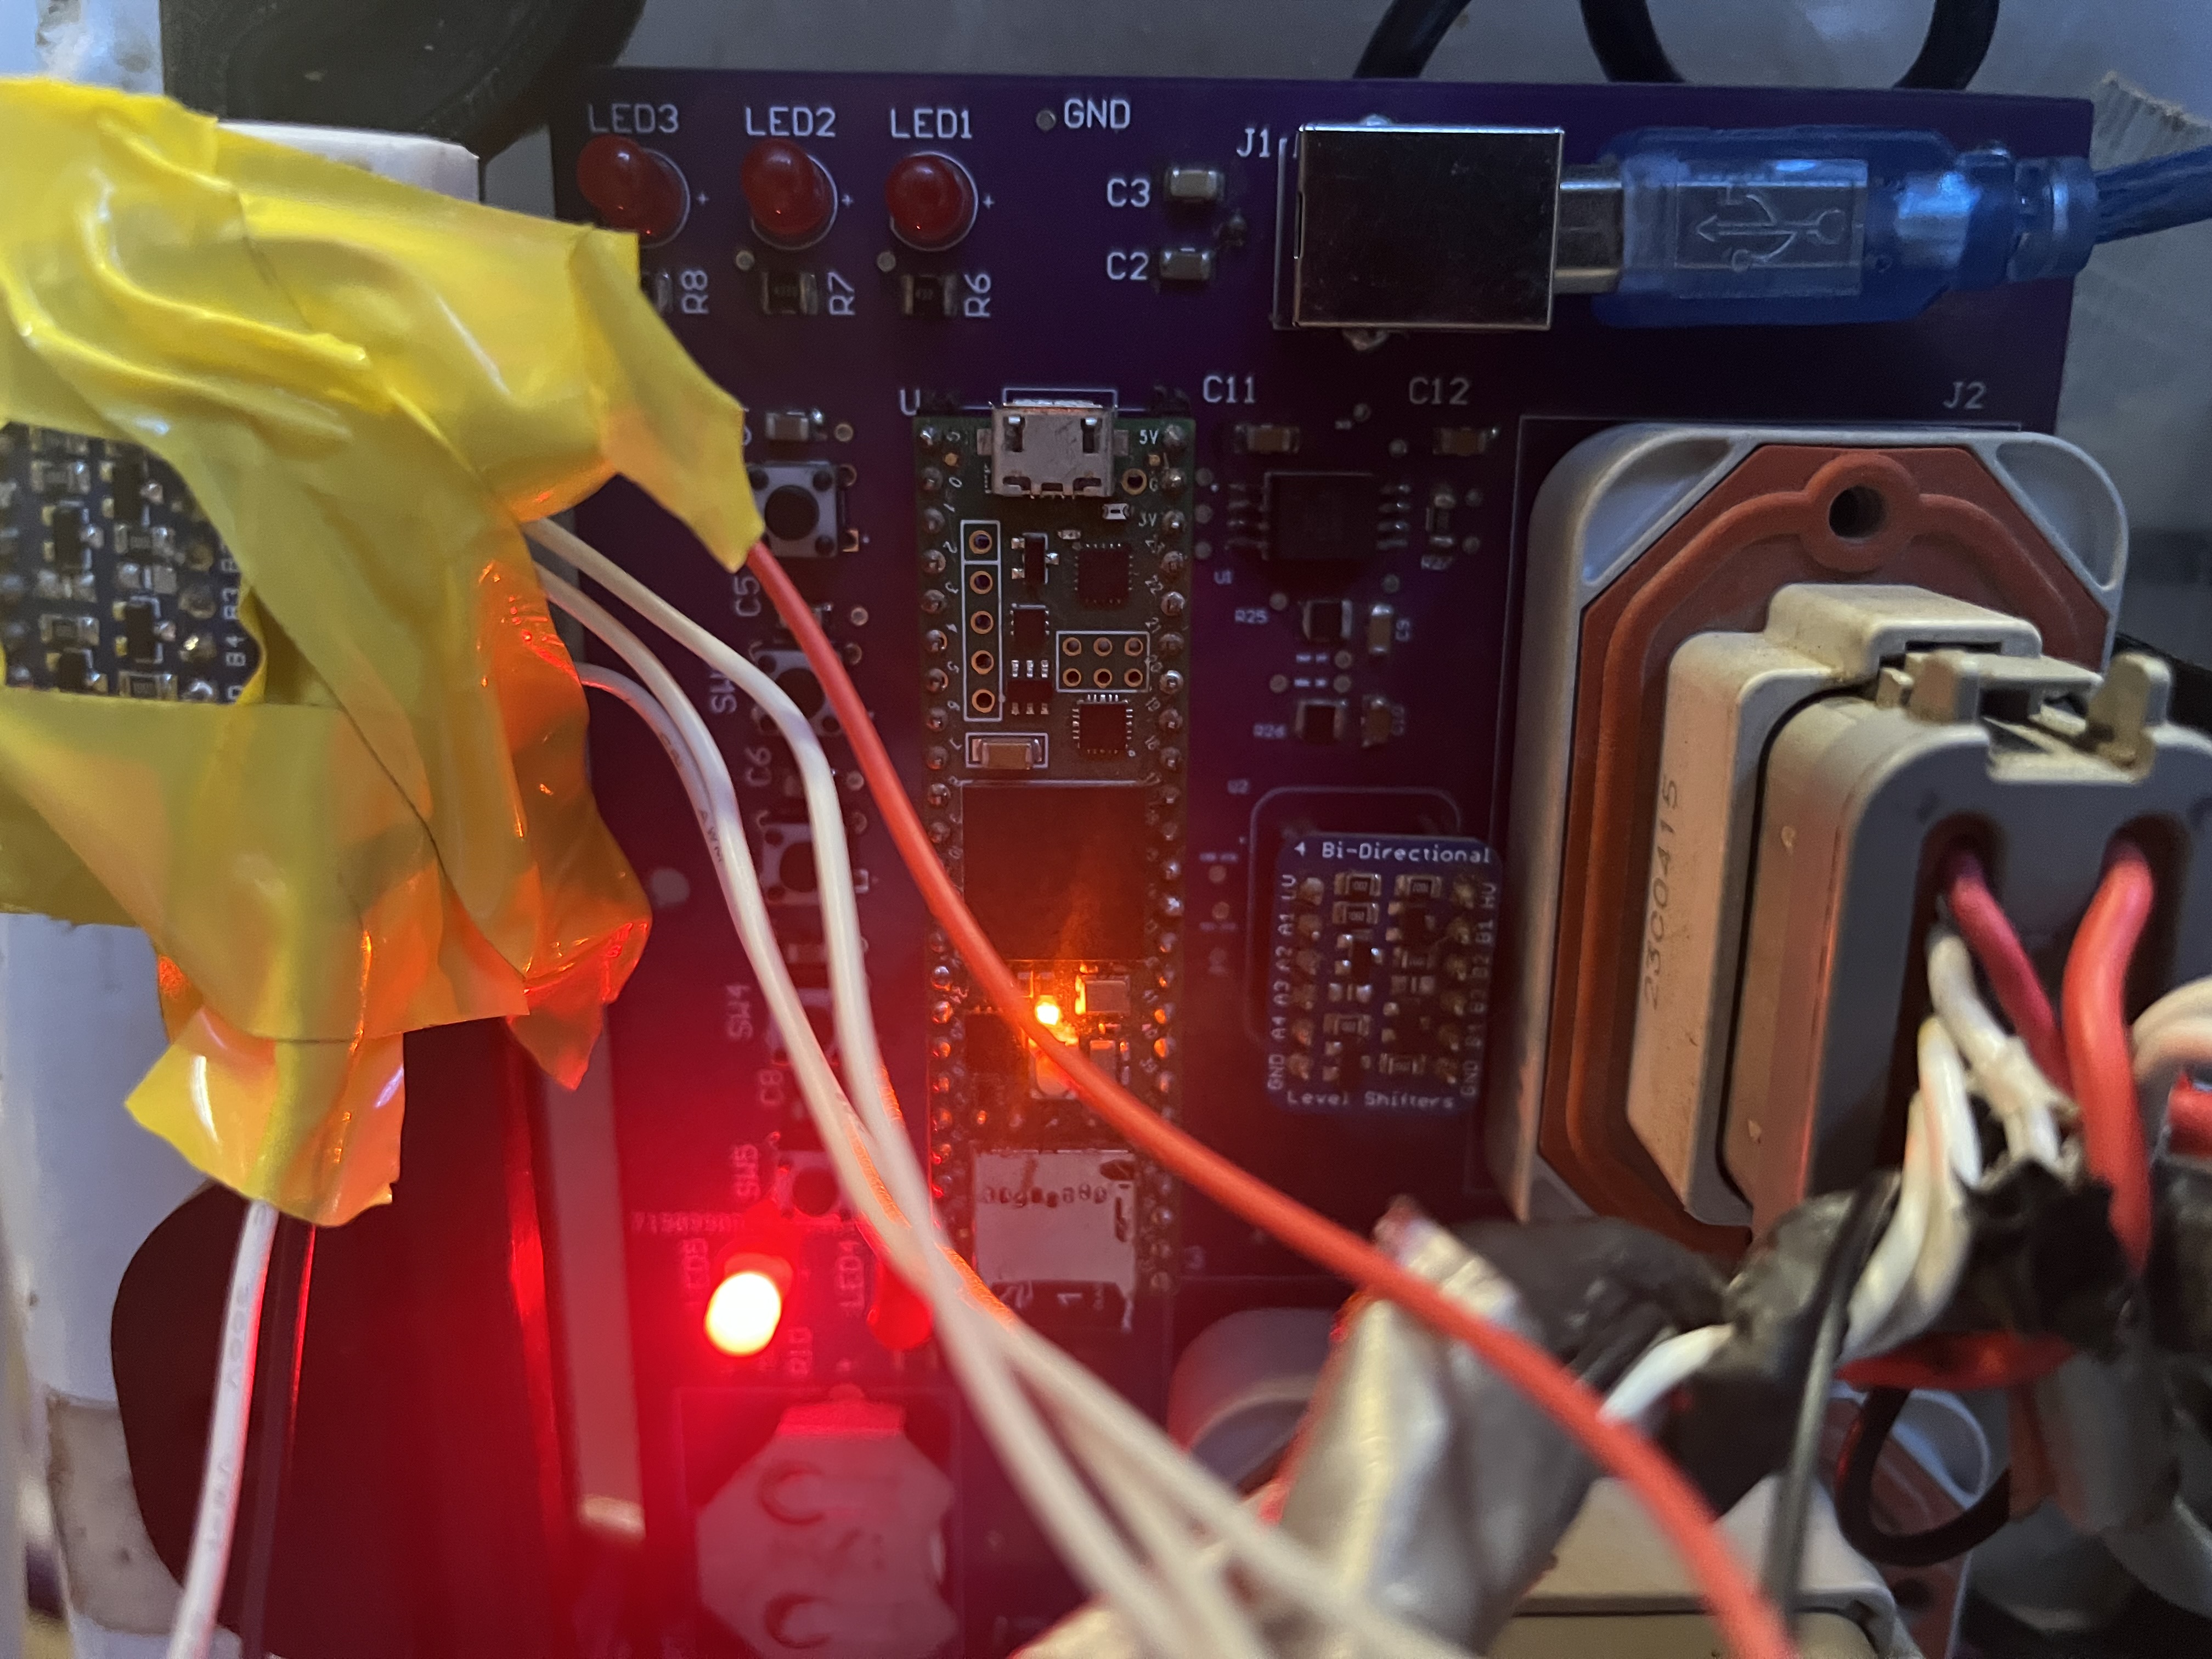 Car is ready to run. Bottom left LED is turned on in the main PCB.
After this, the engine on the car is ready to start.
Starting the Engine
Here’s the procedure to start the engine:
- Ensure that all kill switches are up.
- Ensure there’s enough fuel in the fuel tank.
- Use the black lever on the air intake to set the air choke to full.
TIP
The exact position of the choke is a feel-based thing. It sounds silly, but it can heavily vary based on air temperature, density, and altitude.
To find the right amount of choke, put the choke to full, and then let more air in if the exhaust smells like gasoline (we can this running rich).
If the engine has been ran recently and is warm, you can start the engine with no choke.
- You can then grab the pull cord on the engine (looks like a little black T handle attached to a cord on the side of the engine).
- Pull the slack out of the pull cord slowly until you feel resistance. Let the cord go back into the engine.
- Brace yourself and pull the cord quickly, being sure to hold onto the handle tightly.
- The engine might not start the first time. Try up to a maximum of three times before giving it a break.
CAUTION
If you try to start the engine too many times unsuccessfully, you run the risk of flooding the engine. Flooding the engine is when too much fuel goes into the combustion chamber, making the air-fuel ratio too rich. When this happens, there are usually one of two outcomes.
- You get an engine backfire (you will hear a large pop), when all of the excess fuel combusts
- The car won’t start.
To fix this, you must let the engine sit and drain the fuel from the chambers. You can speed up the process by slowly rocking the car back and forth.
Running the Car
Just a few quick notes for running the car. If you ever find the car turning off or not working, do not panic.
- Try and identify the malfunctioning system.
- Make sure that all connectors are still connected fully.
- Ensure that the batteries have sufficient voltage.
- Restart all components on the car, going through the above section again.
If the above doesn’t fix anything, the Odrive’s RGB LED turns red, or the main board isn’t turning on its normal red LEDs, immediately contact electronics or a director.
TIP
Driving the car can be very different from driving a normal car. If you’d like tips on how to best drive the car, ask electronics to give you a rundown on how the car shifts! You can often exploit this information to go even faster…
Turning the Car Off
To turn the car off, unplug the main PCB’s USB B power connector. Then put the main battery switch in the off position. That should be all!